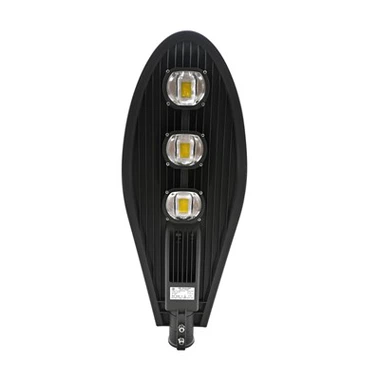
How to Install LED Floodlight?
Nov 10, 2023

Installing LED outdoor floodlights is a fantastic way to enhance security and improve the visibility of your space. Some solar high power floodlightseven come with motion sensors, making it easier to navigate around your garage or front door at night. This guide provides a detailed, step-by-step approach to installing new floodlights, ensuring your surroundings are well-lit and safe.
Preparation: Essential Tips Before You Start
Consult a Professional: It's advisable to consult a licensed electrician for any electrical work to ensure safety and proper installation.
Prioritize Safety: Improperly wired battery floodlight fixtures can pose significant hazards, including electrical fires. Always ensure the power is completely shut off in the area you're working in.
Check Local Codes: Verify local building codes and permitting requirements, as they can vary and affect how you wire or drill.
Step 1: Choose the Ideal Location
Selecting the best location for your outdoor floodlights is crucial. These lights are typically installed on exterior walls, garage walls, or near garage ceilings. Focus on areas that require increased visibility, such as entrances and pathways. Ensure the chosen location is near a power source, and that the circuit can handle the additional load, using no more than 80% of its total amperage capacity.
Step 2: Gather Tools and Materials
Before starting, gather the necessary tools and materials, including:
- Ladder
- Electric screwdriver or drill
- Wire cutters and strippers
- Electrical tape
- Wire connectors
- Voltage tester
- Junction box
- Floodlight fixture
- Appropriate light bulbs
- Mounting hardware

Step 3: Turn Off the Power
Locate the circuit breaker and turn off the power to the work area. Use a voltage tester to ensure there is no current in the wires.
Step 4: Prepare the Installation Site
Use a hole saw to cut a hole in the exterior wall where the floodlights will be mounted. The hole should be large enough to accommodate the wiring. Locate a nearby junction box where the wires will be connected.
Step 5: Run the Wiring
It is recommended to hire a licensed electrician for this step. Run the wires from the junction box to the floodlight location, using fish tape if necessary. Drill holes through walls or ceilings to conceal the wires, leaving enough slack for easy connection.
Step 6: Connect the Wires
Strip about 1/2 inch of insulation from the wire ends. Connect the wires from the floodlight fixture to the corresponding wires from the junction box: black to black (hot), white to white (neutral), and green or copper to ground. Secure the connections with wire nuts and wrap them with electrical tape for added safety.
Step 7: Install the LED Floodlight Fixture
Mount the floodlight in the chosen location using the provided hardware. Ensure it is properly aligned and securely fastened. Seal the junction box with caulk to protect it from moisture.
Step 8: Install the Light Bulbs
Install the appropriate light bulbs as per the manufacturer's instructions. Ensure compatibility in terms of base type, voltage, wattage, and amperage to prevent damage.
Step 9: Test the Installation
Turn the power back on at the circuit breaker and check the current with a voltage tester. Test the floodlight by turning it on or activating the motion sensor to ensure it effectively illuminates the desired area.
Step 10: Finalize and Secure Wiring
Secure the wires with electrical tape or conduit. Neatly arrange any excess wiring and secure it to nearby surfaces using wire clamps.

Enjoy Your New solar Outdoor Floodlights
Following these steps will help you successfully install solar outdoor floodlights, enhancing security, visibility, and ambiance. Enjoy the benefits of well-installed exterior lighting in your outdoor space!